

A Quick history of pie
According to historical accounts, pie has been around since the Egyptians, and they probably learned about pies from the Greeks. The crusts weren’t always eaten, however, but acted as a way to encase meats. The first English pies were made from crows and meat fillings are still a popular Pub entree. Crow pie? Not so much.
The Pilgrims brought the pie concept with them, but pumpkin pie wasn’t served on the first Thanksgiving. Squash pie was developed in England and came to the US in the early 1800s. Apple pie was a popular American choice thanks to the abundance of apple varieties, initially grown to make hard cider, which was drunk daily as water was rarely potable. This probably gave rise to the old saw, “As American as apple pie.” Pie is deeply ingrained in our culinary consciousness now, whether made with a cookie, cracker or nut crust, rolled pastry crust, puffed pastry or phyllo, and fillings cover a full spectrum of sweet and savory options.
With a legacy this large, it’s interesting how most of us defer to store-bought pies, tarts, quiches and turnovers rather than making them ourselves. If you are intimidated by the idea of making crusts or uncertain about fillings, here are some easy hacks as well as a link to a variety of pies and tarts on our site. Once you’ve practiced your chops, it will be easier than “pie in the sky.”
Pie Hacks
Quality ingredients are key for the best baked goods. Use unsalted butter, fresh flour, and good filling ingredients. Canned pie fillings are processed and often contain corn syrup. Fresh ingredients taste better. Plain canned pumpkin, however, works well.
Dark (dull) aluminum pie pans are best for making pies. Shirley Corriher, a chemist and culinary specialist, suggests this in her wonderful book, BakeWise. I’ve used some additional tips from her book as well. If you’re new to baking and want a great guide, I highly recommend BakeWise as she explains the why as well as the how of baking.
With a blind crust, instead of using dried beans or pie weights to keep the crust from bubbling up, Shirley suggests punching small holes in the pie pan (ice pick and hammer work). The reason the bottom crust lifts is because air gets trapped between the crust and the pan. The small holes brown the crust more evenly and the filling won’t leak out when it’s added. When making galettes (free-form pies), bake them on a pizza pan. This creates a crisp, delicious crust. Don’t poke holes in the pie dough because the filling will leak between the crust and the pan and make a mess. Chicago Metallic makes a “pie weight” with holes in it that fits over the bottom crust to hold it in place and bake it evenly. They sell it on Amazon.
Crumb Crusts can be made with cookies, crackers and nuts or a combination of ingredients. The sugar in cookie crusts often crystalizes making the crust tough and hard to cut. Add a handful of fine bread crumbs or finely chopped nuts to the ingredients to help keep the crust more tender.
Crusts do shrink. Don’t add extra butter to your pie crusts, especially crumb crusts or single rolled crust pies, as the heat of the oven will cause the butter to melt and the crust will slide to the bottom of the pan. Additionally press some extra dough or cookie crust downward from the pie pan rim, gently easing it down to the base of the pan.
Bake pies in the lower third of the oven to fully cook the bottom crust.
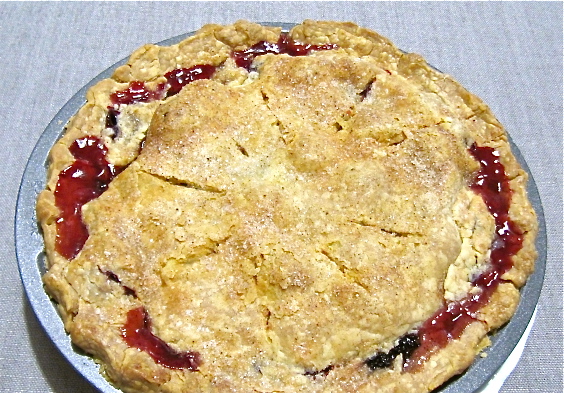
For a lattice crust, keep the reserved pie dough in the refrigerator until the bottom crust has been rolled and placed into the pan. Then, put the bottom crust in the freezer until the lattice strips are ready. Roll out the dough. With a sharp knife or pastry cutter (you can also use a pizza cutter), cut 12 strips of pastry about 1/2 inch wide and equal in length to the diameter of the pie pan. Remove the pie pan from the freezer and pour the filling into the pastry shell.
Lay six of the lattice strips on top of the pie filling but don’t press down on the dough. Next, begin weaving the lattice strips carefully but don’t press down on the ends. Trim any overhang and then gently press lattice ends to the bottom crust.
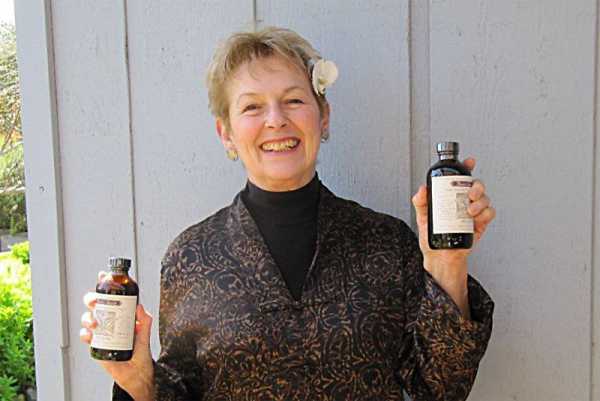
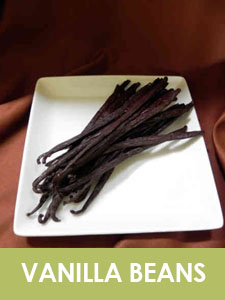
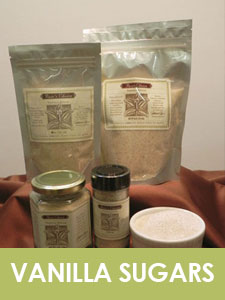
Using a pastry brush, “paint” the top of the pie with water, whipped egg yolk, cream or milk (or blend an egg yolk with 2 tablespoons of cream or milk). This removes any residual flour dust and also helps to create a nice golden-brown crust. Then sprinkle sanding sugar or Rain’s Choice Vanilla Sugar over the top to add sparkle and additional flavor.
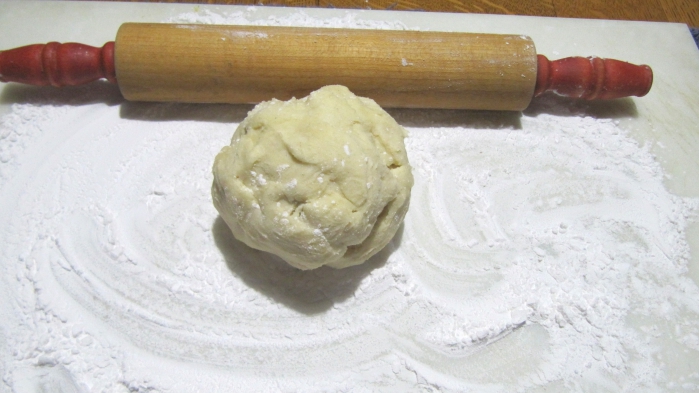
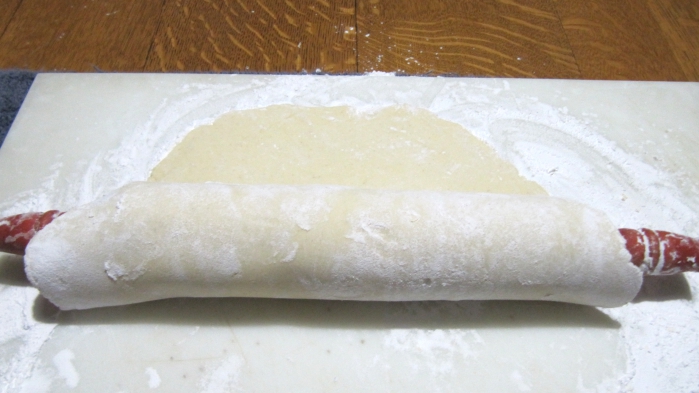
 Chill before baking. I have found that chilling pie dough overnight allows the gluten to relax, creating a more tender crust. After making the dough, divide it into two discs, wrap it in wax paper or plastic wrap, and allow it to rest for 8 – 12 hours. Allow it to warm up just enough so that it’s easy to roll out. Once the pie is assembled, chill it again for at least 30 minutes or, ideally, two hours before baking. Heat the oven to 425 degrees F so that the crust holds its shape when put into the oven. Bake for 25 minutes, then drop the heat to 350 degrees and bake until the filling is tender. If the crust begins to brown too much, cover the edges of the crust with aluminum foil.
For more crust tricks and the best pie crust recipe ever, see The Queen’s Pie Crust.
Fruit Fillings can be tricky. When fruits are heated, their cell walls shrink and they begin to leak making the fruit mushy. This will cause the fruit juices to bubble over and make a mess. It also will create a gap between the fruit and top crust. Adding sugar holds the fruit cells together. You can toss the fruit with the sugar and allow it to chill for 3 hours before using.
Thickeners also can be added to berries and other juicy fruits to prevent the juices from spilling over. Flour, corn starch, instant tapioca or tapioca starch can be added to the sugar and blended into the fruit to hold it stable. My personal preference is tapioca starch (also known as tapioca flour) to help stabilize the fruit. With berries I’ve found 4-1/2 tablespoons of tapioca starch is ideal for a 9 – 10 inch pie. Fruits such as apples need about half this amount. Most recipes indicate how much thickener to use.
If using frozen fruits, allow the fruit to thaw before using. Keep it chilled in the refrigerator until you are ready to put it into the pie.
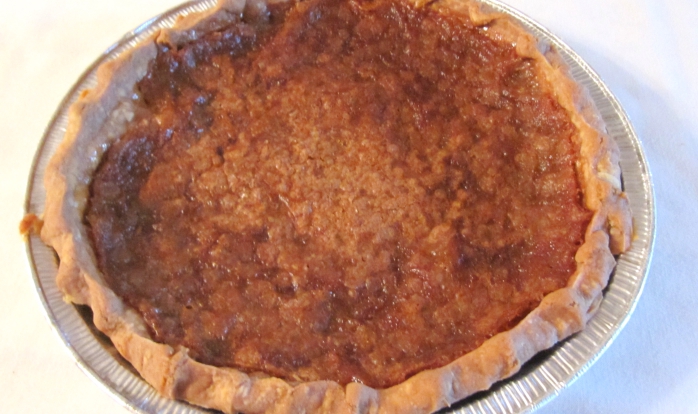
Cream pies can be tricky. The pastry cream is made on the stove then chilled before adding to a baked crust. You don’t want the custard base to get too hot on the stove as it can curdle. The addition of a small amount of starch will help to prevent curdling. If you are a novice custard maker, you can avoid scorching the custard by using a heat diffuser over the stove burner to keep the heat to the pan evenly distributed, then follow the recipe directions carefully. Take a deep breath, watch the custard closely and keep the heat no higher than 212 degrees F. Chill the filling in the refrigerator until you assemble the pie. Baked custard pies (pumpkin, maple sugar, etc.) however, are not so tricky. Do prebake the bottom crust of the pie using one or more of the above tricks, so that it won’t become soggy when you bake the custard.
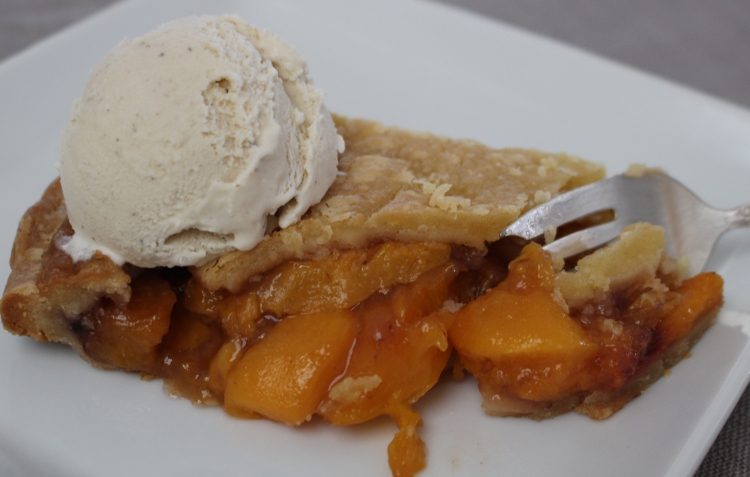
The final flourish for a beautiful, fresh pie can be as simple as whipped cream or as decadent as a rich, specialty ice cream. Shirley loves Honey Mascarpone Cream. I love combining whipped cream with creme fraiche. Either of these two options adds more substance to the whipped cream and helps it to hold its shape. Here’s how:
Blend 2- 3 tablespoons of mild honey with 1/2 cup mascarpone cheese or creme fraiche and 3/4 teaspoon Rain’s Choice Vanilla Extract or 1/2 teaspoon freshly ground vanilla beans until the mixture is smooth. Set aside. Place a medium bowl and the beaters in the freezer for 5 minutes. Pour the cream into the chilled bowl. Whip the cream to medium-firm peaks. Fold the mascarpone or creme fraiche mixture into the whipped cream. Chill until ready to serve.
Cutting Pies can also be tricky, especially cutting the first piece. Use a clean, sharp knife to make the cuts and then a pie spatula to remove the pieces. If you cut two pieces at the beginning, then remove them one at a time, it is a lot easier than cutting just one slice as the pieces hold together better.
Here is the link to our pies and tarts. Bon Appetit!